Snow Close To The End
- mityoyo2018
- Dec 6, 2018
- 2 min read

This week, we finished manufacturing all 50 of our yo-yos!

There were a lot of important lessons learned from our production run. Because there are 18 injection molded pieces in each yo-yo along with additional pieces for the yo-yo spacer and fake snow inside the yo-yo, we knew developing an optimal assembly order would be important.
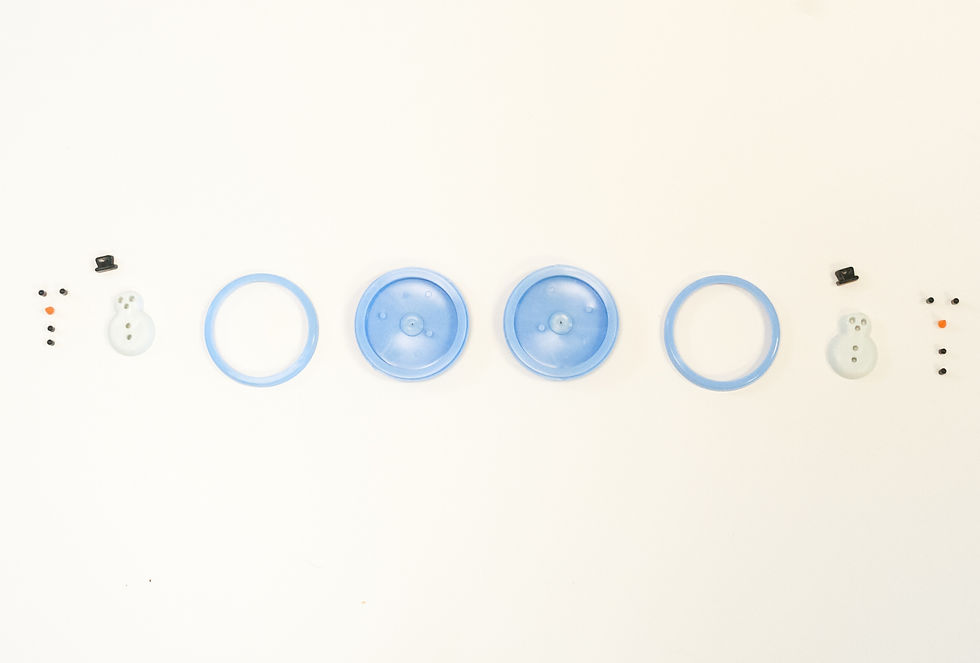
We came up with the following assembly order:
1. Snap hat onto body
2. Snap snowman onto body
3. Snap eyes (2) and buttons (2) onto body
4. Snap nose onto body
5. Scoop fake snow into dome.
6. Place dome upside down into snap ring
7. Repeat steps 1-6 for the other half of the yo-yo
8. Screw set screw into one half of yo-yo
9. Drop washer onto set-screw
10. Apply pressure while screwing in other half of yo-yo
11. String yo-yo by creating loop in yo-yo to wrap over yo-yo body

Assembly the yo-yos was much easier once we figured out the fastest way to assemble it. We ended up setting up a production line where each team member specialized in a part of the assembly process instead of everyone doing every step to assembly individual yo-yos. This also greatly sped up the process.
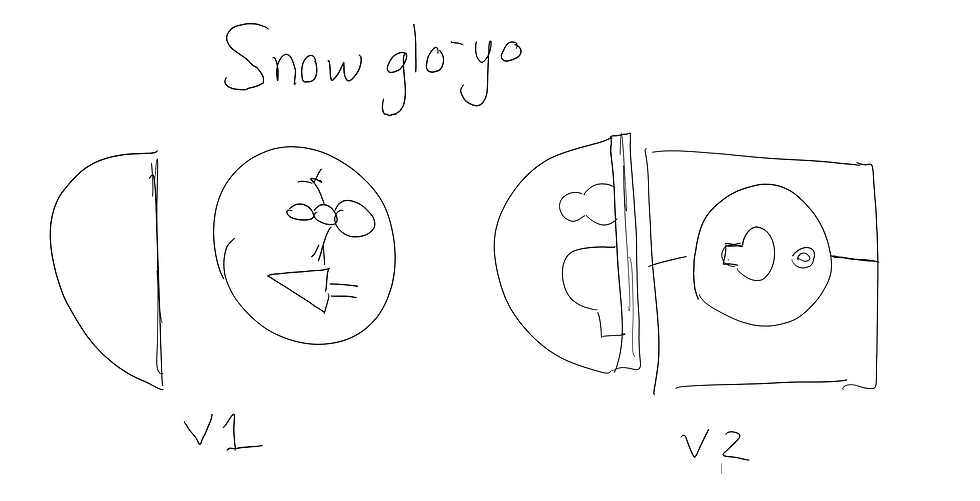
Overall, our team is very happy with how our yo-yo came out, and we are happy with how far we have come from the beginning of the semester. We started out with a design that we quickly learned was largely unfeasible:

And progressed through design changes, machining challenges, and injection molding lessons-learned to produce our final yo-yo:
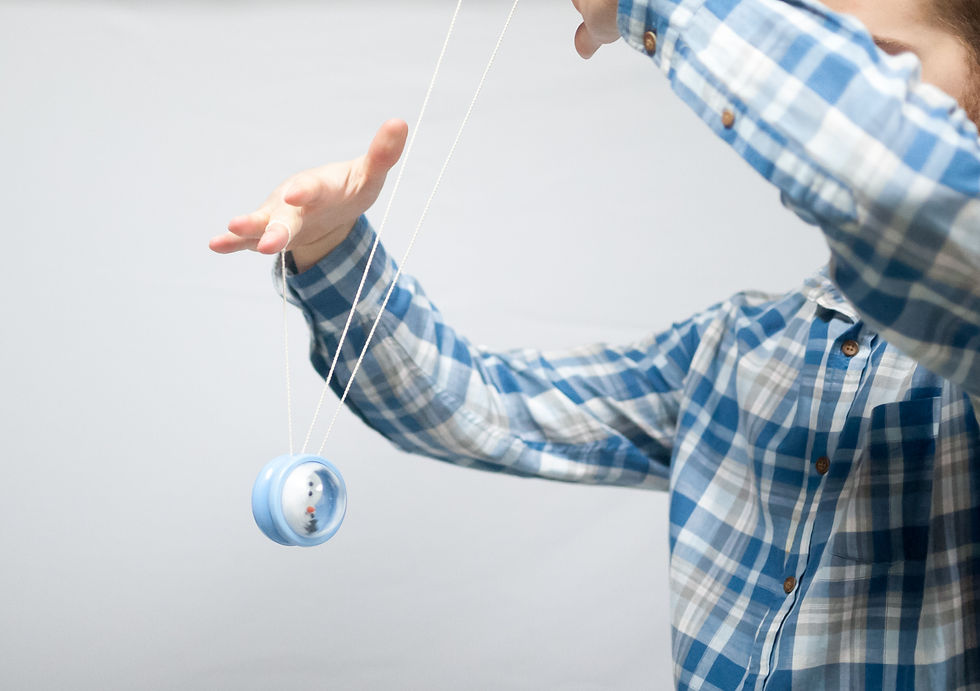
We'll catch you next week with one final blog post, with some detailed process parameter information. For now, our team is happy that we completed our yo-yos over a week before the final expo.


Comments